
Line
Dairy cultures
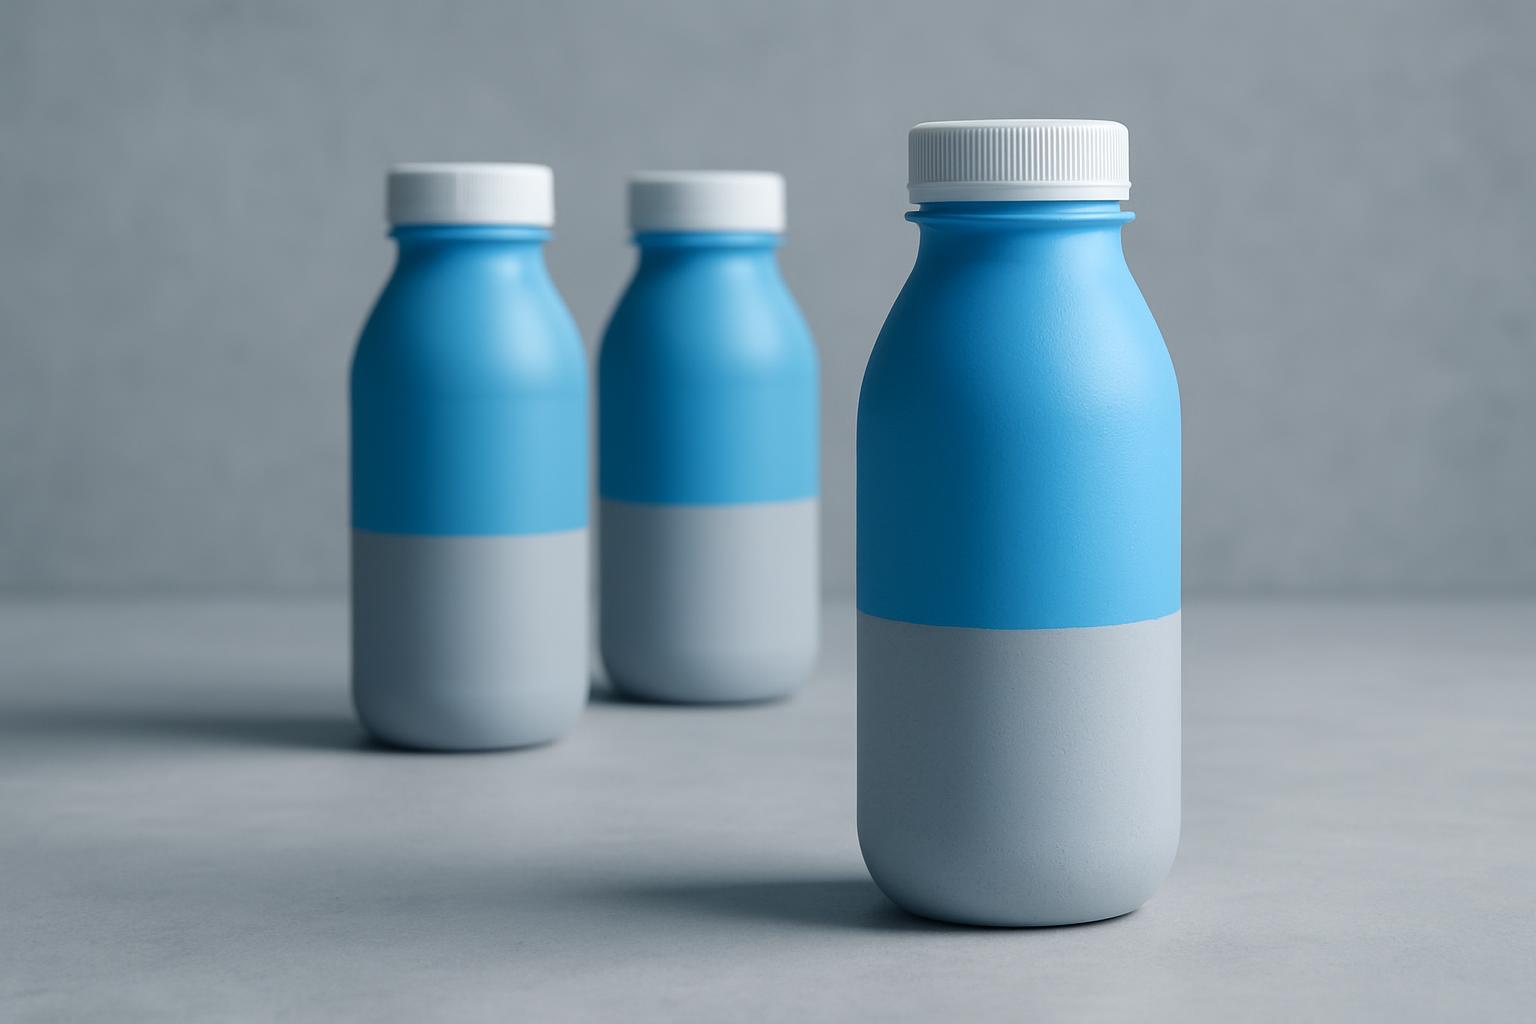
Yoghurt drink and cultured dairy bottles that hate heat spikes on thin walls.
Dairy cultures
Dairy culture lines in South African plants pack drinking yoghurt, cultured milk and probiotic shots in light PET and HDPE bottles, usually with screw caps carrying aluminium induction liners. Many bottles are thin-walled and filled cool, so the setter needs enough heat to bond the foil to the land while keeping the shoulder clean and the neck round.
Common dairy necks sit around 28, 33 and 38 mm, often with coloured caps for flavour coding. Fill conditions create the first risk: yoghurt strings, fat smear, foam and condensation can sit on the land. A dry, flat land gives a continuous seal ring; a wet rim gives a weak patch that can weep after cold-room handling.
Seal failures on cultured dairy packs
Most yoghurt drink leaks start at capping. Low torque gives weak liner pressure against the rim; excessive torque can cup the liner face and stress a light dairy neck. A tilted cap loads one side and lifts the other side. Product on the rim creates a channel under the foil, often showing as a small leak after crate handling.
Heat faults show differently. A scorched liner, browned backing or wrinkled foil points to too much energy or a bottle that paused under the head. A loose peel with a clean land imprint points to too little energy, low cap pressure or a liner grade mismatch. Oval shoulders on thin PET point to excess exposure.
Recommended sealer set-up
BottleSealer usually starts dairy culture work on the Seal Induction Compact, the benchtop unit for dairy development pots, first production samples and small contract runs. The bench trial checks cap torque, liner grade, bottle stability and the lowest setting that gives a firm bond without heat marks on the neck or shoulder.
When the same cultured dairy bottle goes onto a continuous conveyor, the bench recipe is translated to the Seal Induction Pro using filled product, the plant’s own caps and the actual line pace. Mixed SKU dairy plants can place Seal Inspect Vision downstream of sealing to flag missing foils, lifted caps and incomplete seal faces.
From filler to packed case
A dairy culture sequence starts with controlled filling, then a drip or rim control point where the product is stringy. Caps are applied with a torque check at every bottle or cap changeover. The sealed bottle then gets a short cooling section under cap pressure before coding, labelling, grouping and case packing. Guides must hold bottles straight without squeezing soft side walls.
QA should pull samples after the cooling section, not directly under the head. Check the foil face, feel the peel, invert sample bottles and record the setting against the SKU, cap and liner. After a stoppage, restart with a small sample run because bottle temperature, cap pressure and line pace may have shifted.
Maintenance notes and a typical customer call
Dairy residue builds up fast around guides, cap chutes and transfers. Wipe splash from contact points, remove liner dust from cap handling parts, inspect capper pads for glazing and check that bottles do not rock from uneven fill or a chilled base. Keep one written recipe per bottle, cap and liner combination, including torque target, head position and power setting.
A Gauteng contract packer asked for a set-up on 250 ml and 500 ml cultured yoghurt drinks that leaked after overnight cold storage, while the light PET bottle showed neck heat marks. BottleSealer ran bench trials, corrected cap torque, matched the foil wad to the neck and set the Compact at a lower starting point with steadier hand feeding. For culture bottle trials, email cap, liner and filled-sample details through our contact form.
What our Bottle Sealing customers say
Verified Google reviews
