
Fixture
Standard guide rail
Adjustable side guides for PET and HDPE on 1.5 to 3 m cells.
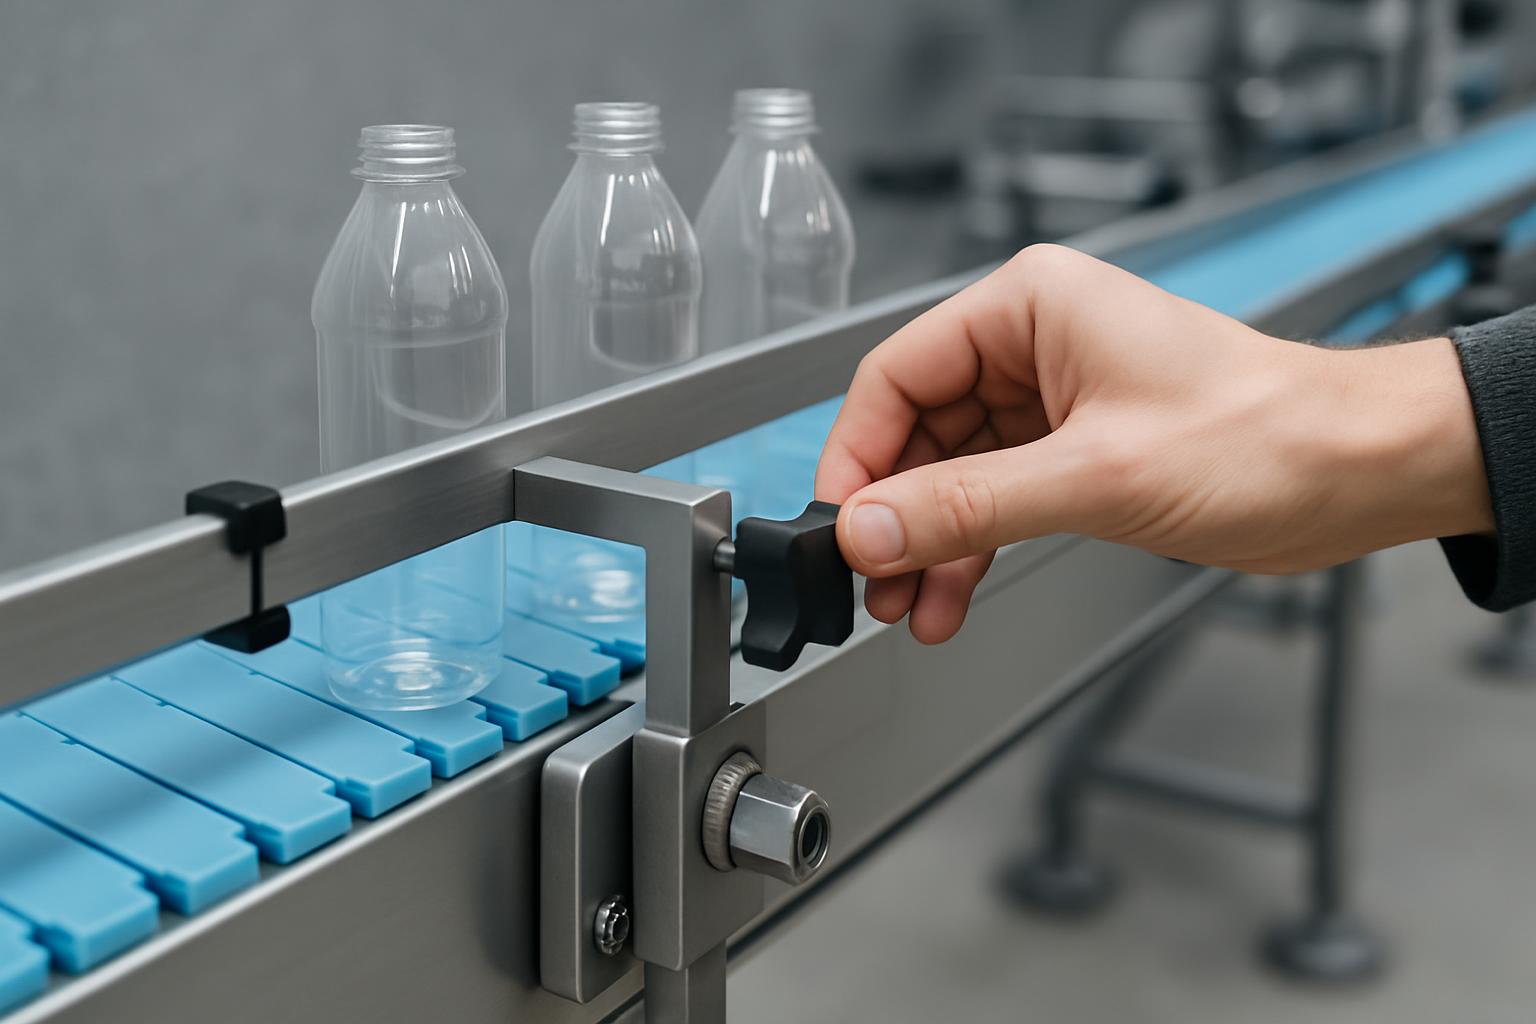
Standard guide rail
The standard guide rail is the adjustable side guide set for PET and HDPE bottles on 1.5 to 3 m BottleSealer conveyor cells. It clamps to the conveyor side frame and keeps the bottle path on the belt centre line, so containers enter the next station square during short runs, contract packing and inline production.
Setters use this rail when one conveyor must run several bottle bodies with South African neck finishes such as 28, 33, 38 and 45 mm. The rail opening is changed with hand tools during SKU changeover. The guide faces should touch the shoulder or sidewall lightly, with clearance around label edges, cap skirts, sleeve perforations and handles.
Machines and line positions
The guide rail pairs with Seal Induction Pro, Seal Induction Compact, Band Shrink 120 and Line Integration Rail builds. On induction cells it holds capped bottles upright through the sealing area. On band work it keeps the pack steady while the sleeve is carried into steam. On integrated cells it gives sensors and reject hardware a consistent bottle path.
This side guide is also specified where cap tightening, inspection or hand packing follows the conveyor cell. A drifting bottle can enter a cap head, camera view or reject pocket at an angle. A well-set rail removes that wander with a visible mechanical setting that the operator can check from the floor.
Fitting the rail to the conveyor
Stop and isolate the conveyor according to site procedure, clear loose containers and wipe the side frame where the brackets will clamp. Offer up the brackets, leave the fasteners loose, then align the guide faces parallel to belt travel. Tighten from the middle bracket outward so the rail does not bow toward the belt.
Set guide height against a filled production sample, not an empty bottle from the store. The contact point should sit on a firm body area or shoulder where the bottle will not buckle. On oval packs, use the widest running face. On handled packs, confirm that the handle clears bracket heads and rail ends during start-stop movement.
Changeover adjustment steps
Place three filled samples on the belt: one at infeed, one in the centre of the rail and one at discharge. Close both sides evenly until the bottles stand square with a small running clearance. Jog the belt and watch from the side and above. The right setting shows no spin, scrape, rocking or sudden neck movement.
After the first minute of running, stop and inspect bottles that passed through the rail. Look for scuff marks, sleeve drag, label rub, cap contact and dust lines on the guide face. If the bottle rubs continuously, open the rail slightly and test again. Mark the final bracket position or record the measurement on the changeover sheet.
Wear checks and ordering details
Check the standard guide rail at every format change, then inspect it closely during the weekly clean. Common wear points are entry ends, bracket slots, hand knobs, clamp plates and the guide strip face. Replacement is due when settings creep after tightening, brackets sit bent, grooves cut into the guide face, or one side no longer adjusts parallel to the belt.
Floor symptoms include scuffed packs on one side only, sleeve wrinkles starting at the same point, capped bottles entering the next station off-centre, or repeat rejects tied to one bottle diameter. When ordering, quote conveyor cell length, belt width, bottle material, widest body diameter, neck finish, cap outside diameter, shoulder height and the station it will feed. Send details through our contact form, or bring samples to the counter in Meadowdale Industrial, Germiston.
What our Bottle Sealing customers say
Verified Google reviews
