
Fixture
Sensor kit
Photo-eye and encoder spares on integration rails.
Sensor kit
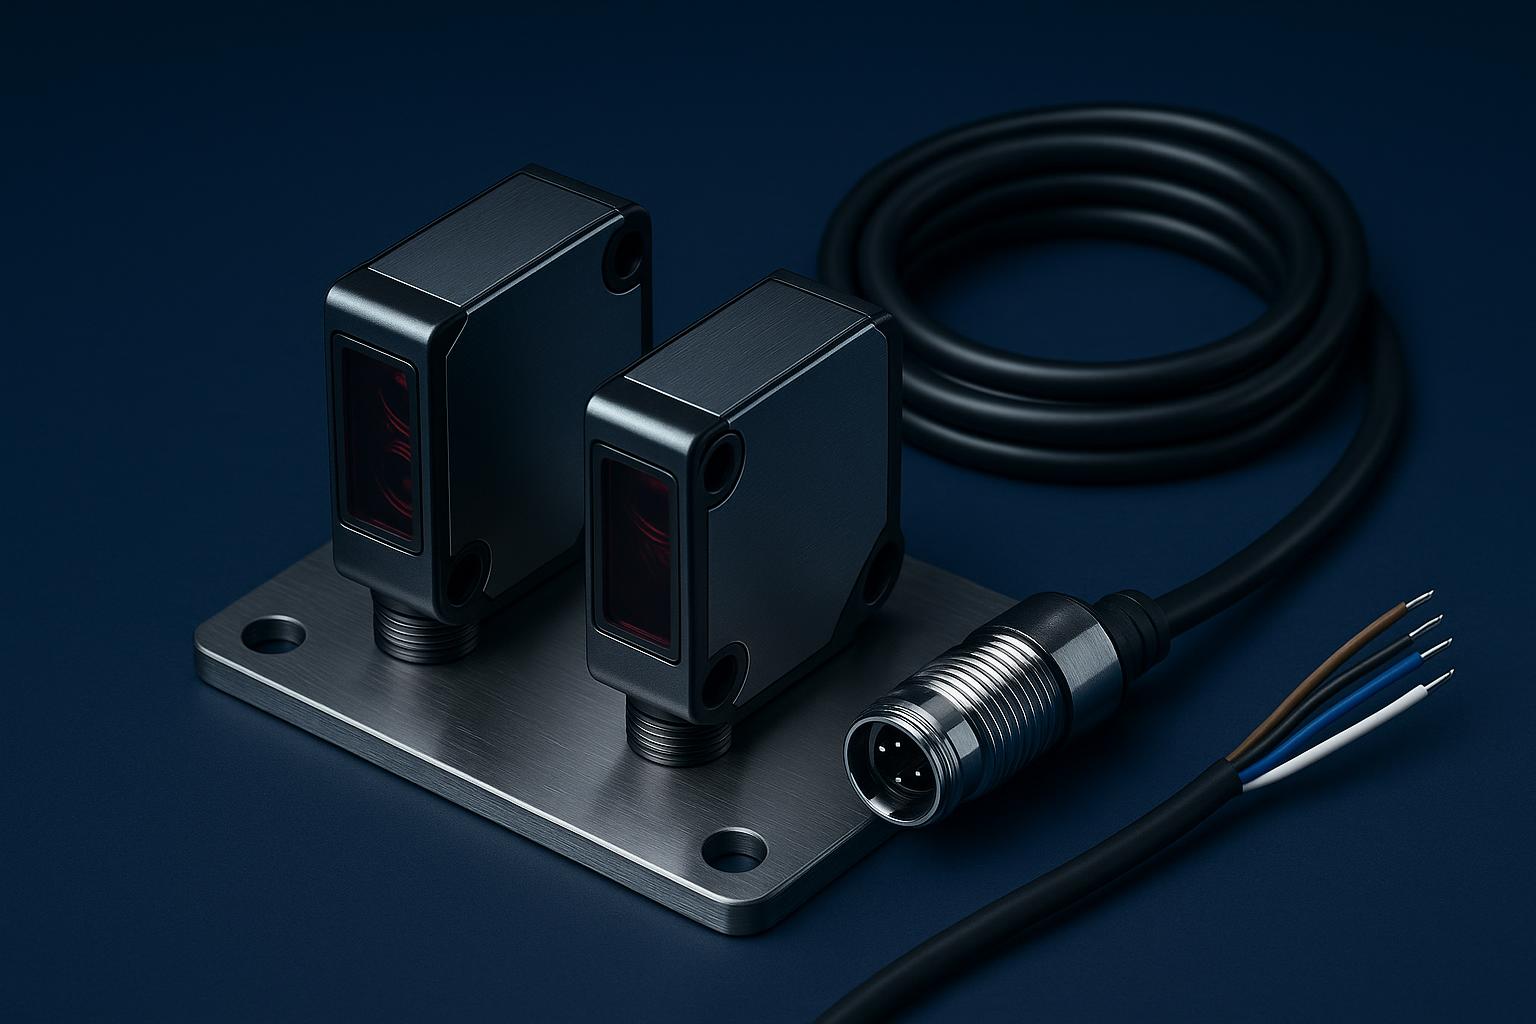
The Sensor Kit is the photo-eye and encoder spare set for BottleSealer rail cells. The photo-eye reads bottle presence at a fixed point on the guide line. The encoder reads conveyor travel so the controls can time a sealing, capping, sleeve, camera or reject action against the moving pack.
Most requests start with a simple floor problem: missed counts, double counts, a reject firing late, or a bottle arriving out of time at the next station. A scuffed lens, loose clamp, wet plug or rubbed cable can turn a good rail into a stop-start shift. The kit gives maintenance the matching parts to put the timing point back where the setter needs it.
Where the Sensor Kit fits
The kit is specified around the Line Integration Rail, including short retrofit cells and longer rail sections. It suits rail work feeding Seal Induction Pro, dual-lane sleeve work on Band Shrink 240 with two lanes at 120 bpm each, and trigger points for Seal Inspect Vision. It also serves capping and steam rail cells where bottle position drives station timing.
On an induction rail, the photo-eye is set where bottle pitch is settled and side guides hold the container straight. On sleeve and steam work, the same type of reading point is used for spacing and entry timing. On inspection work, the sensor must present the cap and neck to the camera in the same position from bottle to bottle.
Fitting the photo-eye
Start with lockout, then photograph the old sensor, bracket and cable path. Note which side of the rail it sits on and which bottle feature it reads, such as shoulder, neck or cap side. Loosen the clamp, remove the old body, clean the slot, fit the new photo-eye and leave the clamp just loose enough for fine movement.
Route the cable away from guide screws, rub points, cap dust and steam drift. Plug into the marked 24 V rail lead, then jog three bottles through the guides. Watch the sensor indicator change once per bottle. Move the body in small steps until the count is steady, tighten the clamp, then run a short pack gap test on the HMI.
Changing the encoder and proving timing
For an encoder change, mark the old wheel position and contact pressure before removal. Fit the new encoder square to the belt travel, with the wheel touching without dragging. Keep the cable loop clear of the belt return and any guide adjustment slots. Jog the belt by hand first, then run at low speed and check that the pulse count rises evenly.
After fitting, prove the station that uses the pulses. On sealing, check that the bottle arrives at the same repeat point. On capping, confirm no-container behaviour and repeat start timing. On sleeve, steam and inspection rail cells, run spaced bottles and confirm that application, entry, trigger and reject positions match the rail marks.
Wear checks and ordering details
Check sensors during weekly PM, after washdown, after a rail strike and after changeovers where guides move often. Replace a photo-eye when the lens is hazed, the body is cracked, the plug shows moisture, the indicator flickers with no bottle present, or the count changes when the cable is touched. Replace an encoder when the wheel is glazed, flat-spotted, loose or noisy.
For a quote, send a message through our contact form with rail length, machine on the cell, lane, left or right side, sensor body code, encoder label, plug type, cable length, bracket photos and the fault seen on the line. The counter is in Meadowdale Industrial, Germiston, where staff can match the body style and mark guide positions for the site technician.
What our Bottle Sealing customers say
Verified Google reviews
