
Fixture
Sleeve feed tray
Band sleeve tray geometry for 120 and 240 lanes.
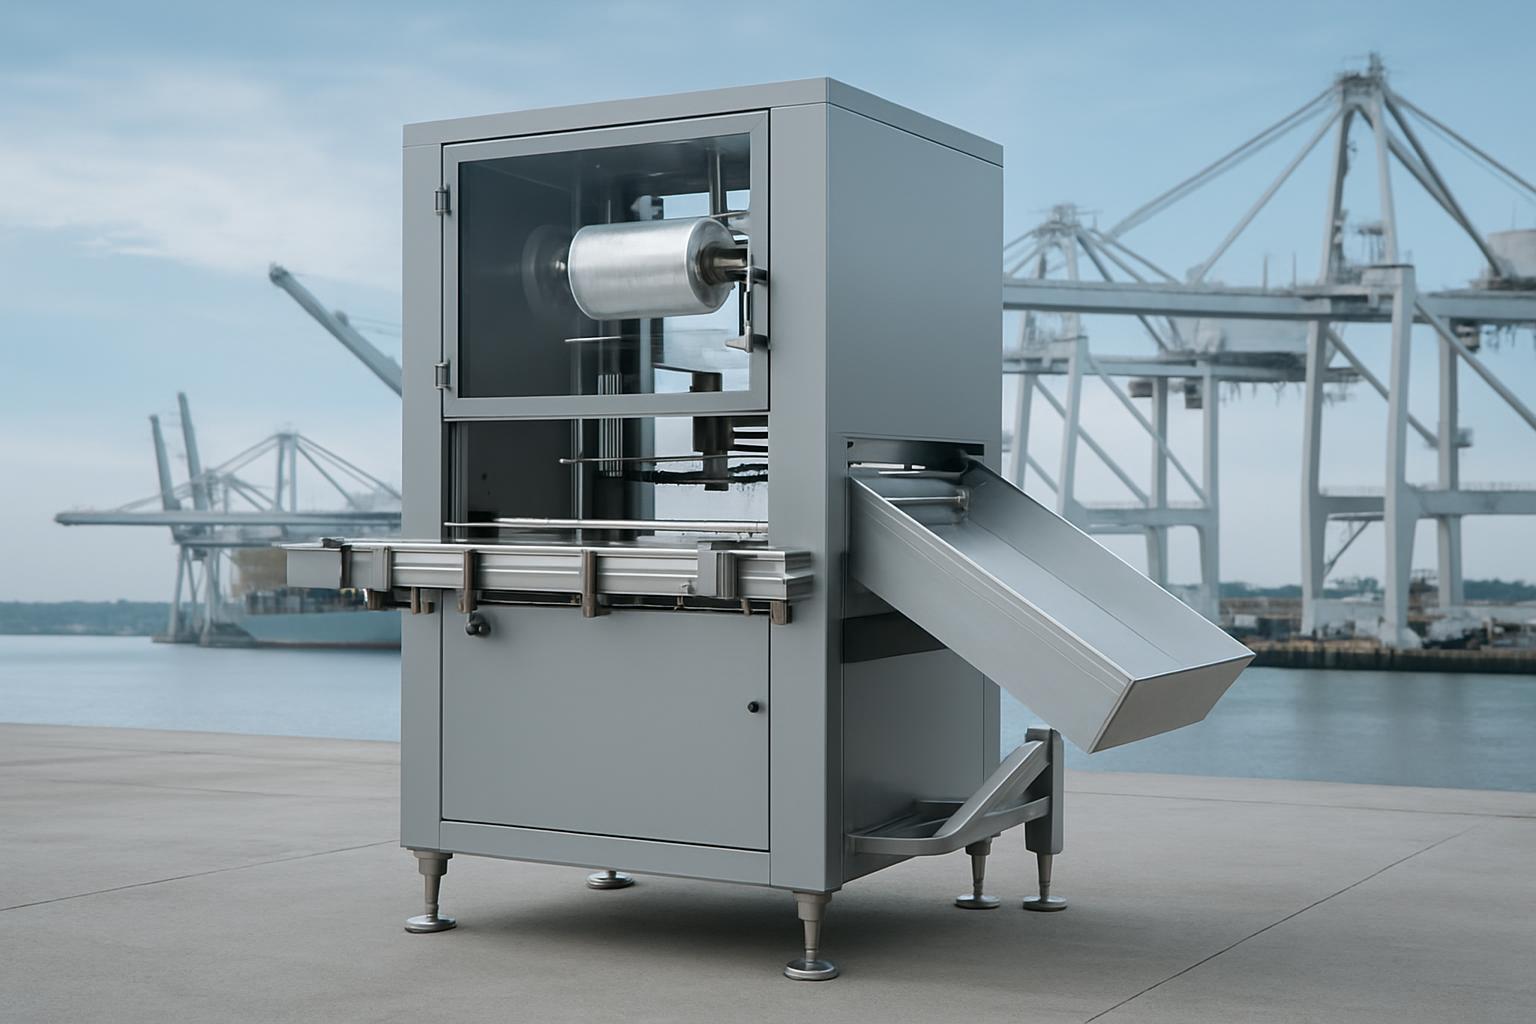
Sleeve feed tray
The sleeve feed tray sets the sleeve path on Band Shrink 120 and Band Shrink 240 lines. It holds the stack square, presents one sleeve to the neck, and keeps the tear perforation facing the planned panel as bottles arrive at pitch. On the 240 format, each lane needs the correct tray geometry because small left-right bias becomes a twisted band under steam.
Many plants first blame steam pressure when bands sit skew. Start at the tray when sleeve height changes from bottle to bottle, when the perforation walks around the cap, or when one lane feeds better than the other. Dwell can finish a sleeve that starts straight; it cannot correct a sleeve that enters the steam section off-centre.
Fitting at changeover
Stop the machine, isolate steam at the tunnel, and set the bottle guides before fitting the sleeve feed tray. Seat the tray on its mounting points, leave the fasteners just loose, and hand-run several bottles through the infeed. The sleeve mouth must meet the cap and neck squarely, with the lower edge sitting at the planned sleeve height.
Load a short sleeve stack and centre it in the tray throat. Set side clearance so the sleeve slides without scuffing the print, dragging the cut edge, or opening the tear perforation. Align the perforation to the agreed pack face, then tighten the fasteners in stages. Confirm sleeve lay-flat and height against band sleeve sizes before running a full tray.
Adjustment with steam, dwell and drying
Run the first bottles slowly at normal pitch and watch the sleeve enter the steam zone. A correct tray setting gives even sleeve height, no twist at the tear line, and no clash between bottles as shrink begins. After that, set steam pressure and dwell to pull the sleeve down to the neck and cap profile.
Condensate changes feeding during longer runs. Wet sleeves can cling to each other, and a damp tray face can delay the bottom sleeve long enough to create height variation. Wipe the tray during trials, drain visible water from the steam area, and check drying after the tunnel before adding pressure. Use steam start when start-up bands move at random.
Wear checks and replacement signs
Check the sleeve feed tray at every SKU change, after any sleeve jam, and at the start of a shift that runs steam for extended periods. Inspect the throat edge, locating slots, fastener holes and guide faces that touch the sleeve. Wear often shows as a polished edge, small burr, bent locating point, or an opened path that lets the stack lean.
Replace the tray when the same fault returns after normal adjustment. Common signs are bands feeding high or low on one lane, tear perforations rotating away from the pack face, repeated edge scuffing, or operators tightening guides harder to hold position. Cracked corners, deep grooves and loose mounting holes usually show that the tray no longer holds the sleeve path.
Ordering details to quote
When ordering a sleeve feed tray, quote the machine model, lane count, bottle neck size, cap diameter, sleeve height, lay-flat width, sleeve material and perforation position. For Band Shrink 240, state left lane, right lane or both lanes, because tray hand and presentation can differ across the two steam lanes.
Send sharp photos of the fitted tray, mounting face, sleeve stack and bottle with a loose sleeve in place. Add notes on steam pressure, dwell behaviour, bottle pitch, condensate and drying faults seen during the run. Tray queries go through the counter in Meadowdale Industrial, Germiston, or through our contact form. If the steam chamber is also wet at the hood joint, check the steam hood seal.
What our Bottle Sealing customers say
Verified Google reviews
