
2026-09-18
Juice: foil, then sleeve
Foil-seal and peel-test the cap first, then sleeve the neck in steam.
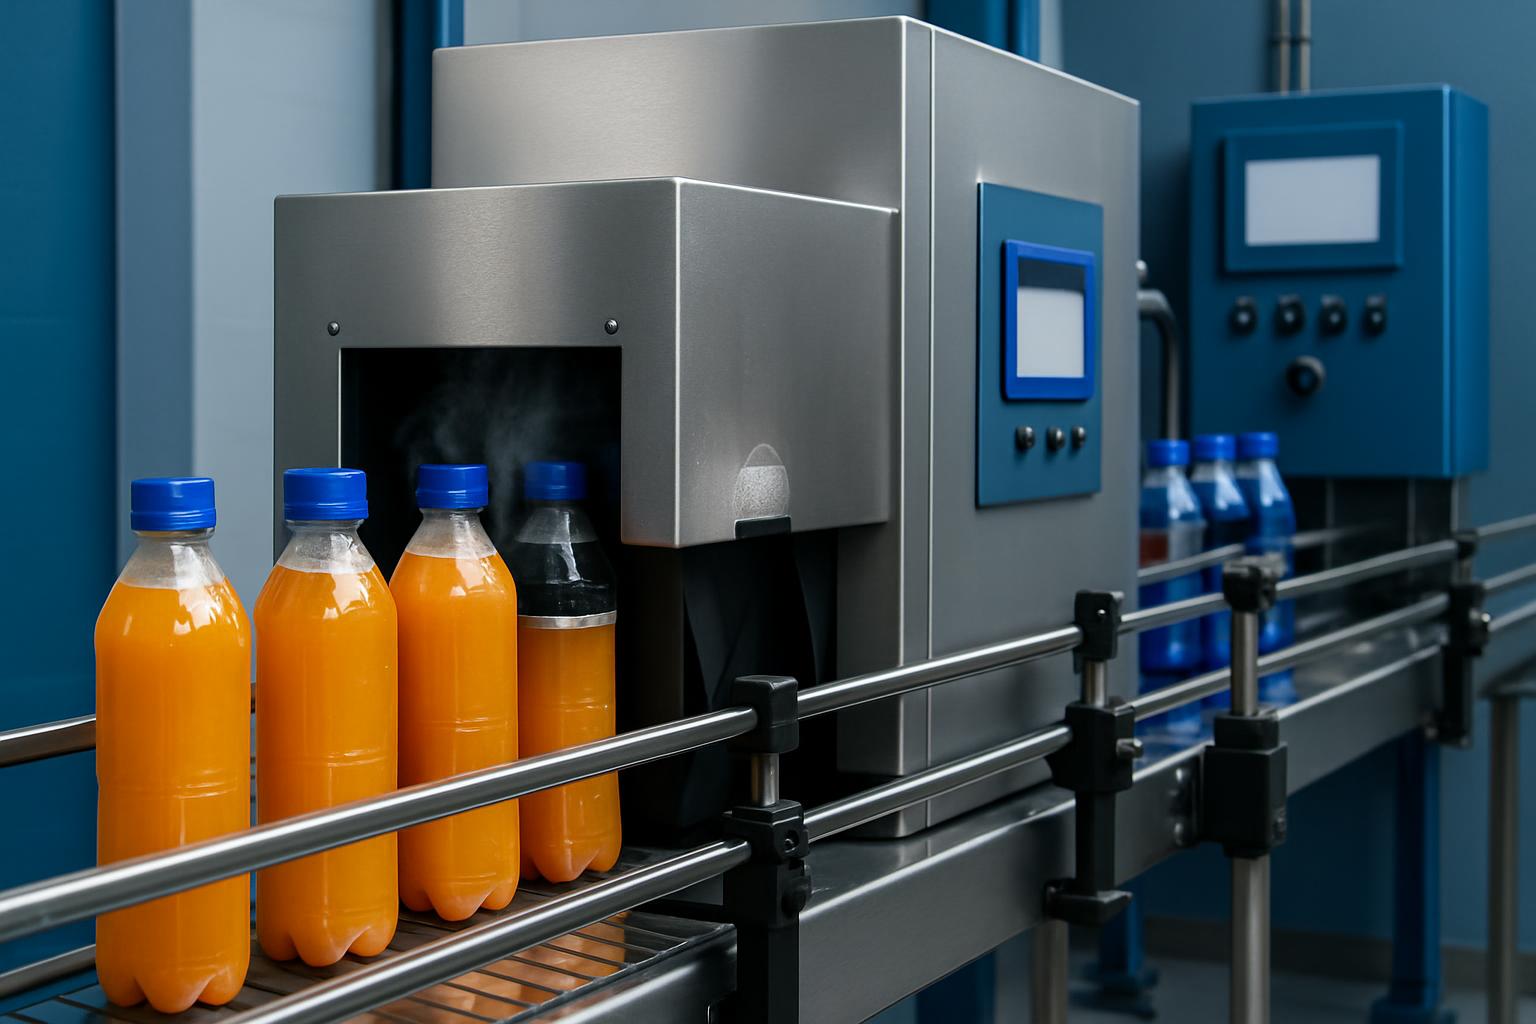
Juice: foil, then sleeve
On juice and nectar bottles, run the aluminium foil liner first and shrink the neck sleeve second. The foil seal is a cap-and-neck task: the tightened cap holds the liner flat on the sealing rim, induction heat bonds it, and QA can then lift sample caps for a peel-test. The sleeve is a tamper and presentation task: steam tightens the band around the cap skirt and neck after the foil has been proven.
The first defect from the wrong order is sleeve damage. Induction heat at the cap can distort a PVC band, ripple the tear strip or tighten one side before steam has shaped it. The second defect is blocked QA access: once a tamper band covers the cap skirt, the sampler cannot lift the cap cleanly to inspect and peel the liner. A neat neck is wasted if the foil was never checked.
Why this shows up on South African juice lines
South African juice floors often change between 28 and 38 mm necks, PET and HDPE bottles, cold-fill nectar and RTD lines, with co-pack windows split by label and flavour. The setter may be pushed to finish the visible tamper band first because sleeves look like the final pack. That habit causes rework when QA later asks for peel data and the cap is locked under a shrink band.
Step-by-step order on the line
Start at the capper. Select the foil wad for the cap and finish being packed, then cap filled bottles at the recorded torque recipe. Pass the capped bottles through Seal Induction Pro for continuous production, or use the benchtop Seal Induction Compact for trials and short runs. Let sample bottles settle, open them while the cap is still free of any band, and peel-test the liner.
Only after QA signs the foil sample should the sleeve station start. Set the sleeve to sit squarely on the cap and upper neck: confirm cut height, tear-strip clocking, bottle spacing, steam supply and time inside the tunnel. Use Band Shrink 120 for a single beverage lane; Steam Tunnel S shrinks narrow-mouth juice neck bands with controlled steam around the cap and upper finish. Dry the cap and shoulder area before cartons or crates.
Maintenance and fit checks
On fit-up days, keep guide rails centred so the capped bottle travels square under the induction head and later enters the sleeve station without shoulder rub. Check capper chuck wear, torque head pads, foil wad seating and cap flatness when peel results move around. At the sleeve end, clean steam hood gaskets, check condensate drains, keep the sleeve feed square, and confirm that drying air removes water from the cap skirt after the tunnel.
Records and a worked example
Record the SKU, bottle resin, neck finish, cap style, liner code, torque recipe, induction setting, line rate, sample bottle numbers, peel result, leak-test result, sleeve grade, cut height, lay-flat measurement, steam setting, tunnel residence time and cap-drying result. Mark the handover line as foil cleared before sleeve start. A simple seal check card keeps QA, setters and maintenance working from the same facts.
A typical 500 ml PET nectar run with a 38 mm cap starts by capping and sealing a start-up tray. QA opens several bottles from that tray and finds two liners lifting on one side, so the setter checks torque and cap seating before running more samples. Once the foil peels cleanly and leak samples pass, the band station starts. Steam is tuned until the tear line sits straight below the cap knurl, with the shoulder dry on exit. For a new juice plant brief, the pack trial should include capped foil samples plus loose neck sleeves, so the order, peel check and steam finish can be signed off before production.
What our Bottle Sealing customers say
Verified Google reviews
